Comfy, cozy and full of charm, farmhouse style is as popular as ever. And it’s no surprise that farmhouse style is the most popular design aesthetic in the RV renovation community the past few years. Professional and amateur designers and renovators alike have turned to this enduring style.
Drawing from history of farms and homesteads of early American settlers, this style mimics the look and feel of days past. It incorporates the simplified, minimalistic décor and the need for practical and comfortable furnishings. That basically sums up RV life, doesn’t it!
Classic farmhouse style has stood the test of time and evolved into today’s modern farmhouse style, which unlike past renditions, tends to steer clear of being too cute or kitschy by balancing old and new and not going overboard with any one thing. You might find a picture of a horse or a chicken on the wall, but you won’t plaster wallpaper of a farm on every wall in your rig.
Farmhouse is also versatile and family-friendly. Another great reason RV renovators are using this style. If your kid gets a scratch on the dining room table, who cares, it just adds to the authenticity of the worn and lived-in look!
In this article we’ve outlined the specific elements we see in most farmhouse renovations and we show you how renovators successfully tie together this beautiful style.
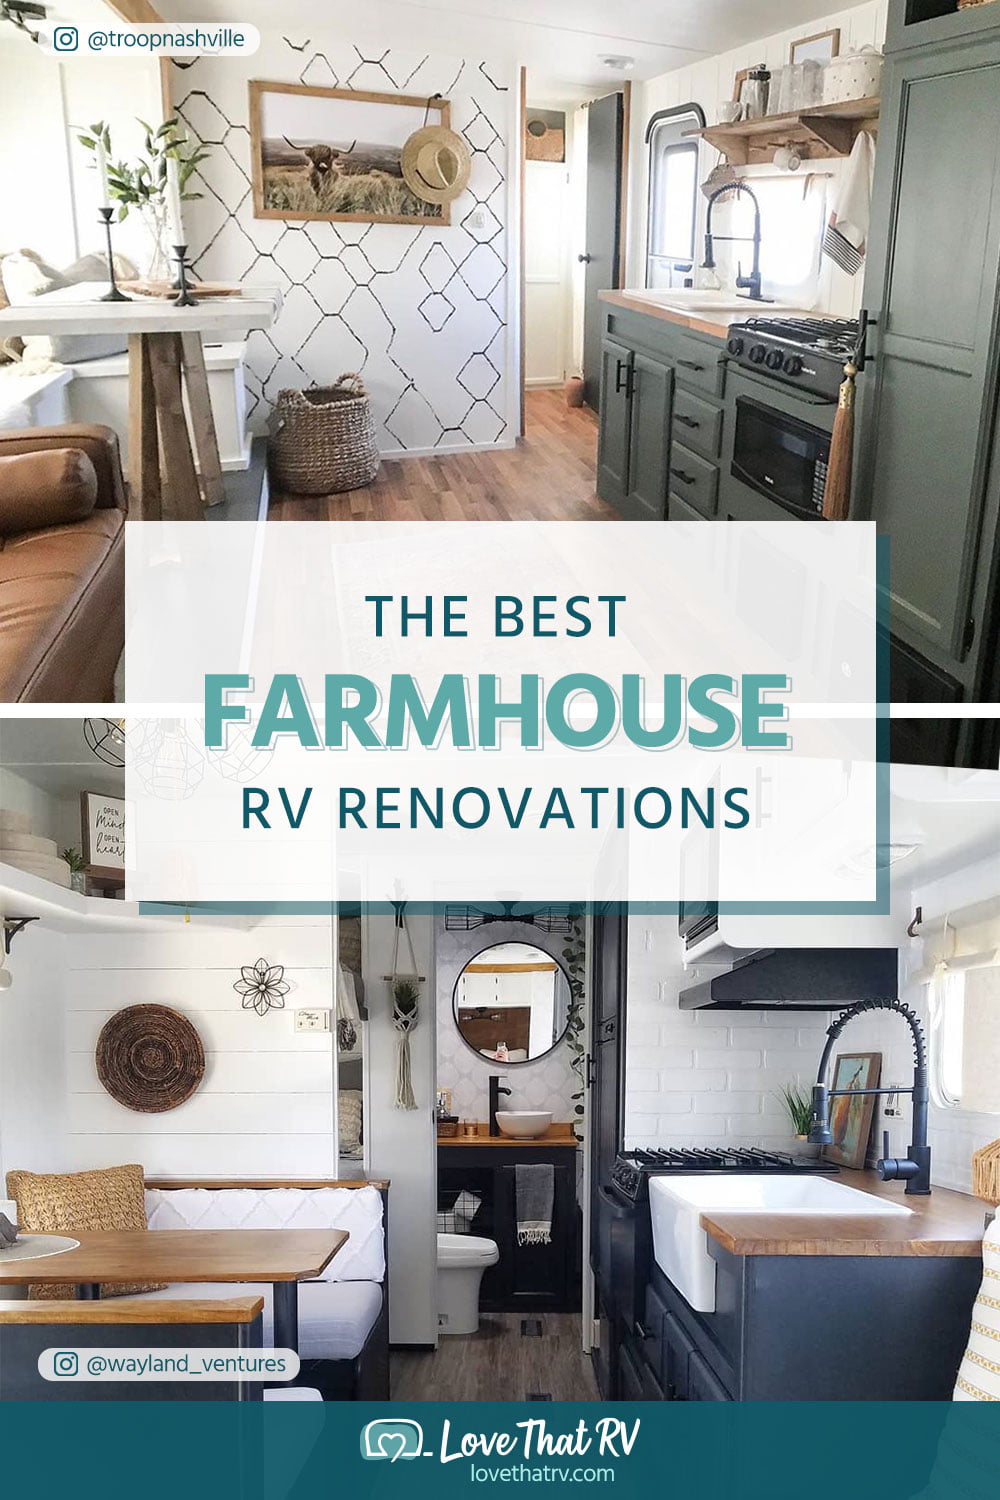
We’ve curated some of our favorite farmhouse style RV renovations in the galleries below. Have fun scrolling and let us know what you think about this style in the comments at the end.
Color Palette
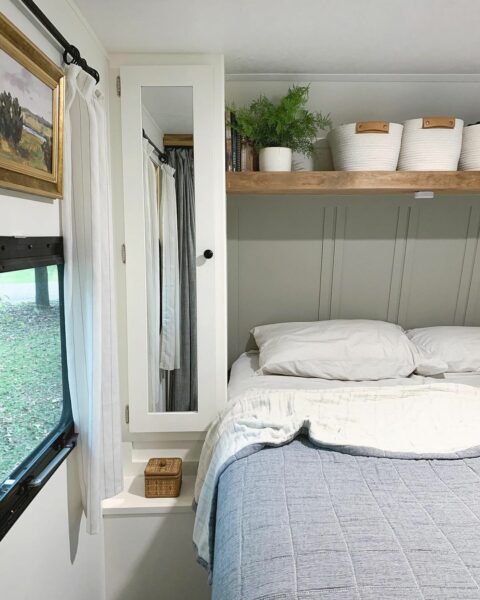
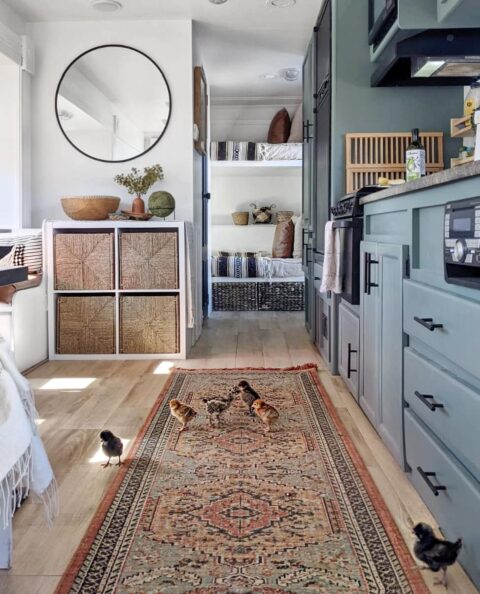
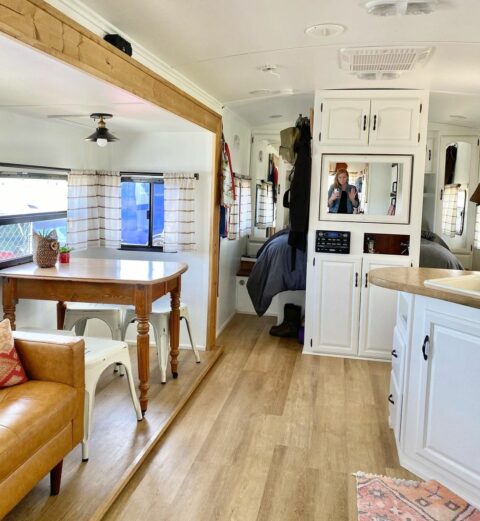
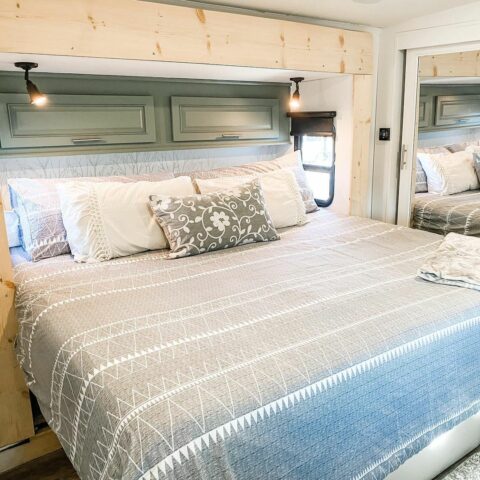
Farmhouse style starts with a color palette of warm or cool neutrals (cream, beige, silver, sage, and gray all work well), and then you can layer in some natural wood tones. You can use accent walls, faux wooden beams, butcher block, or even completely new flooring to add those warm wood tones.
Feel free to use accent colors you like throughout, but try to keep the overall color scheme neutral with light or muted colors. Besides being a popular design style in general, we’ve actually found that RVs renovated with muted color schemes tend to re-sell better. Yes, the buyer could always add their own paint color or wallpaper, but when the RV already comes with a neutral color palette, it’s much easier to add your own style with an accessory here or there like artwork, plants or a throw blanket.
You’ll notice how these examples in the gallery below all have a light base color such as white or beige and then layer on a small accent color or texture to add more interest in the space.
It’s also worth noting that we’re noticing more honey-toned color schemes as the base color rather than a stark white in current farmhouse style renovations. It still holds true to the minimalistic and warm nature of the style, but it just feels less like a hospital room and more of an inviting home.
Click each image to expand to a larger view.
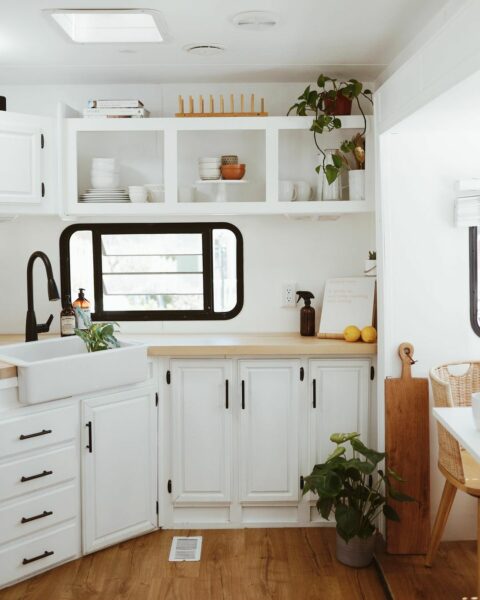
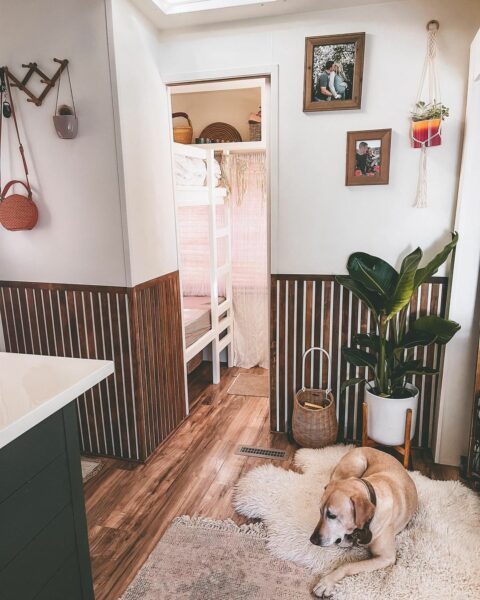
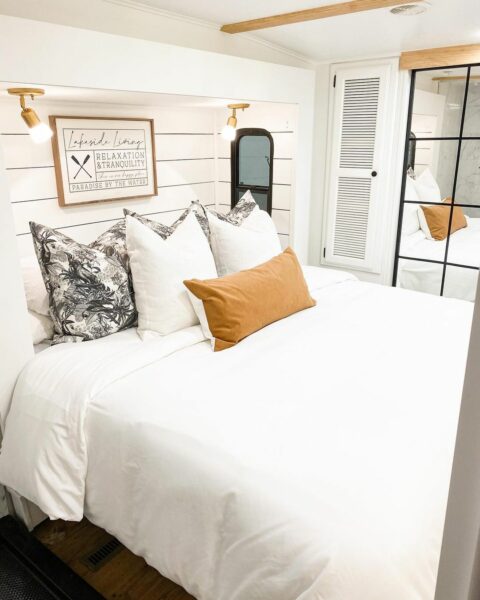
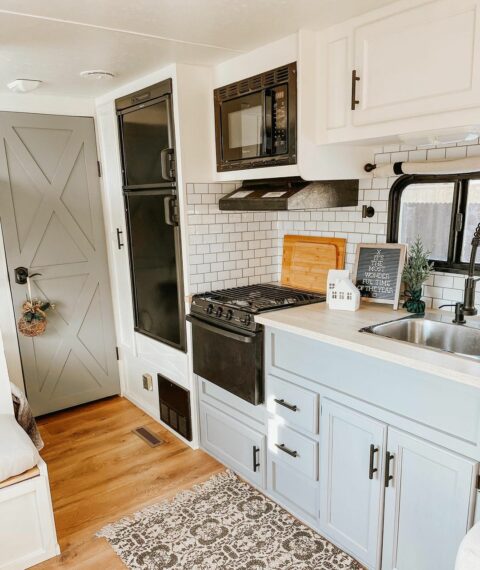
Shiplap
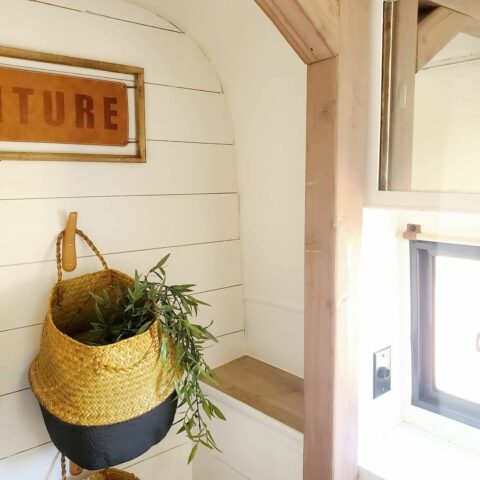
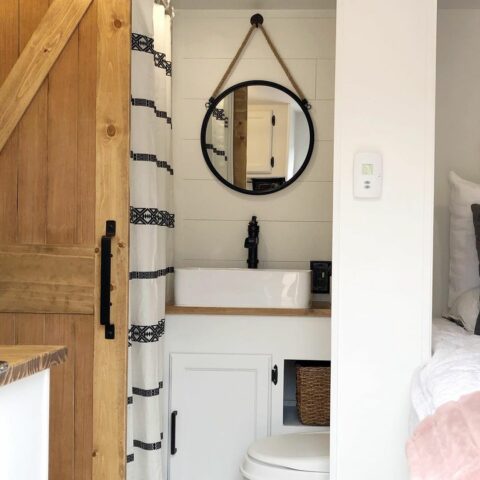
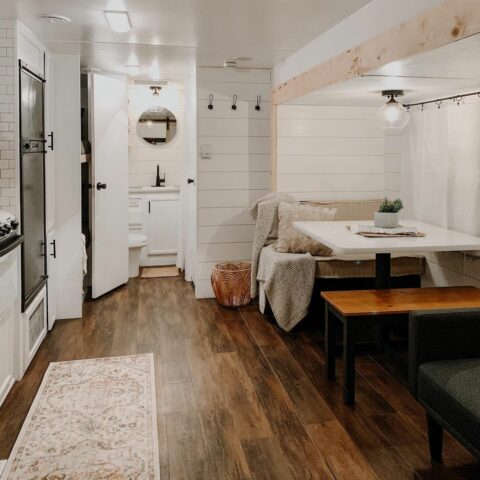
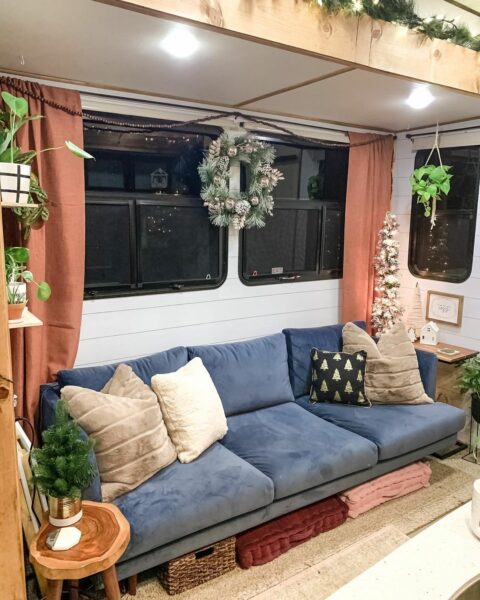
Perhaps the first thing people think of when they hear “farmhouse style”, shiplap has been used in wall construction for hundreds of years. But the style has since exploded in popularity after Joanna and Chip Gaines and their Fixer Upper TV show aired on HGTV.
Since wood was used so heavily in farmhouses of the past, shiplap paneling is one of the easiest ways to bring the feeling of old world style into new homes. But RV designers have to always be concerned about adding too much weight to an RV that will be towed down the highway, so we have to be a little creative in how we clad all the walls in shiplap.
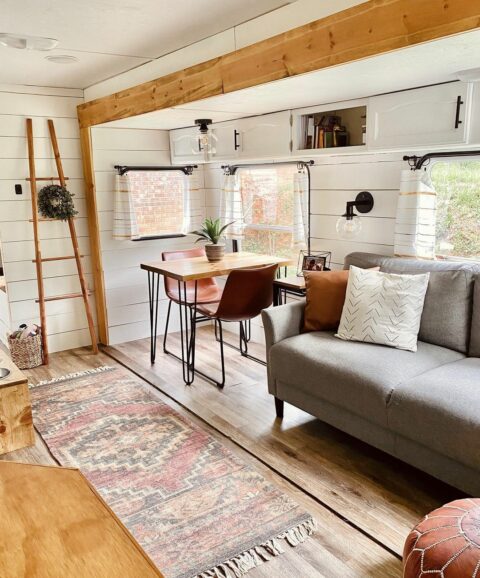
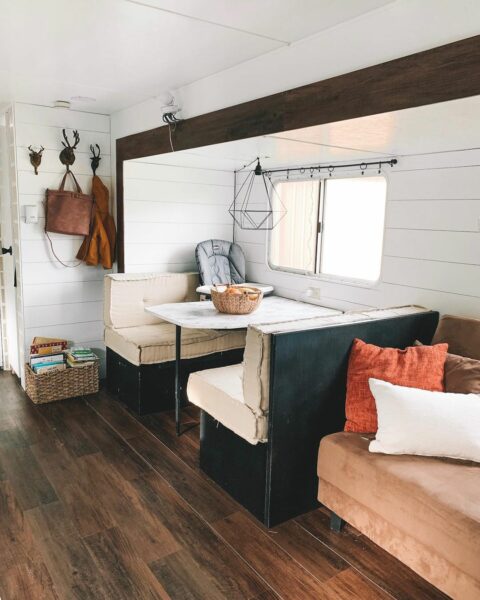
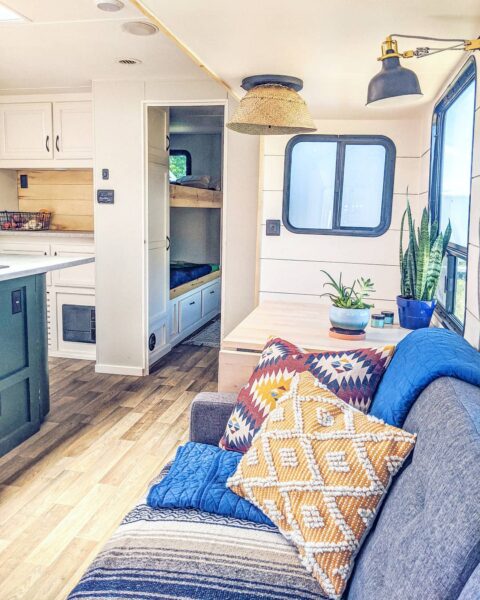
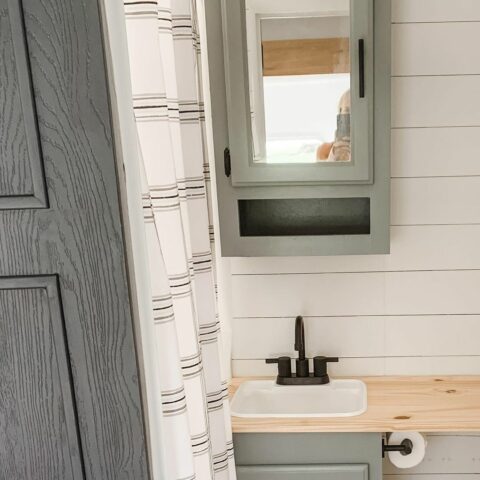
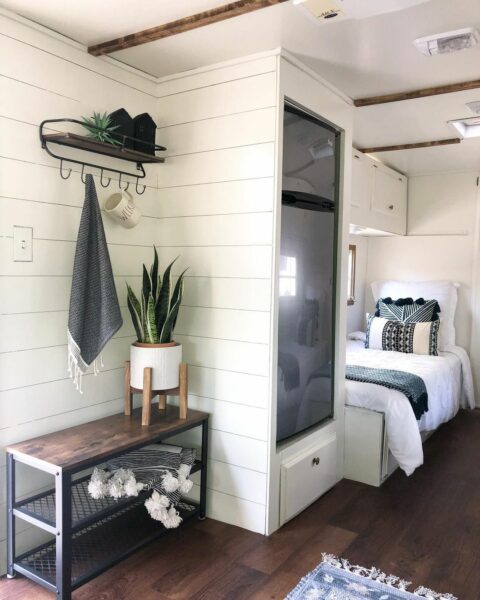
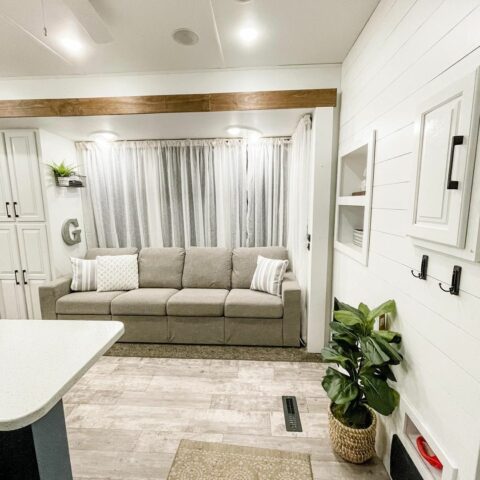
Many people have actually used Sharpie markers or black painted lines on a cream-colored or white wall to simulate the appearance of shiplap. Other people simply roll out wallpaper that includes the clean lines as well as some other painted textures to mimic the real thing. And then other people still want that deeper texture that real wood panels create so they plan their walls with a type of faux shiplap, which is essentially a very lightweight, thin type of material that provides just enough depth to give you the feeling of a real farmhouse wall in your RV.
Take a look at some of our favorite shiplap RV renovations.

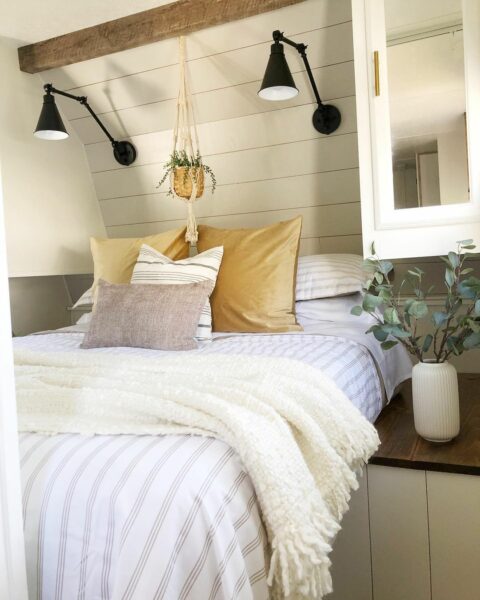
Vertical Shiplap
We’re also seeing the clever use of vertical shiplap in more designs. It’s a modern spin on classic farmhouse style that gives hints to its rustic design origins but doesn’t come across as over-the-top. It can also help make the space appear a little taller as the lines draw your eye up. And if there’s one thing lacking in most RVs, it’s the lofty headspace you find in a traditional home that you just won’t find in many RVs. So anything that can make the space feel less claustrophobic is a good thing!
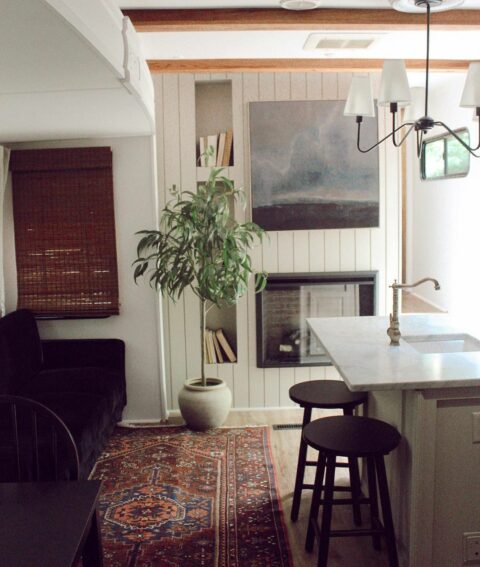
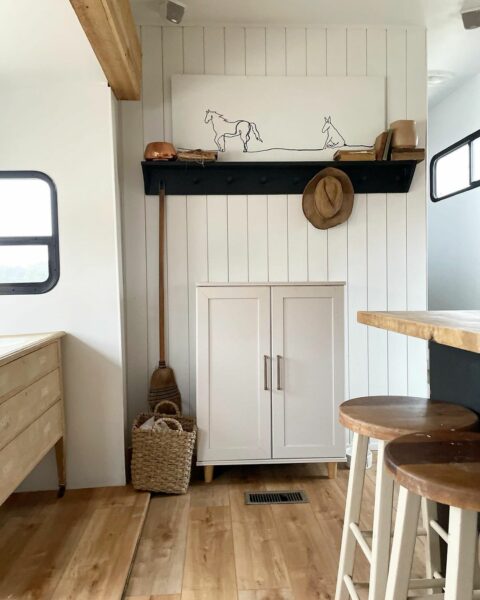
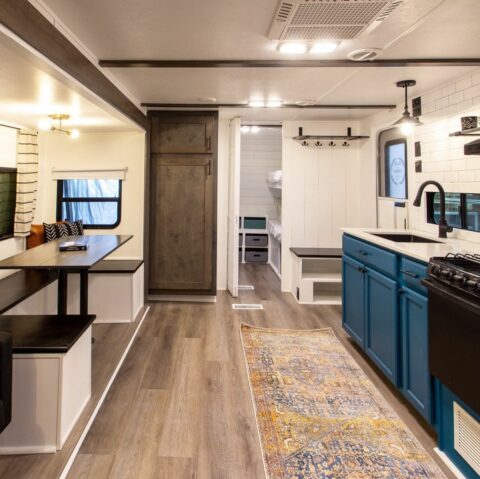
Wood Beams
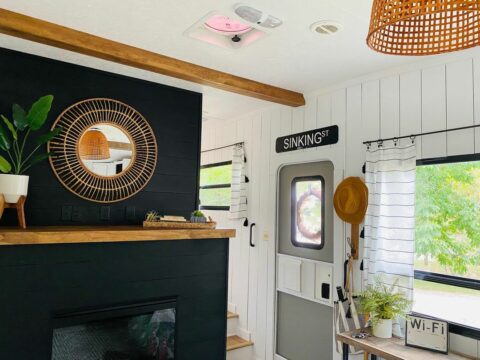
Speaking of vertical shiplap lines, another common design feature we’re seeing with modern RV farmhouse style is the use of faux wood beams. If you’re going to use vertical lines to draw your eye up to the ceiling, you might as well cover up those ugly RV ceiling seams with a nice design feature!
Once again, renovators have to be aware of adding too much weight as they remodel, so you will likely use a faux beam material. You may still be able to use real wood, but you’ll have to construct a hollow beam using thin plans of wood to create the illusion of a hefty wood beam up there on that white ceiling. Or you could just make skinny beams that just cover the seams in the ceiling.


Wood Slide-Out Trim Molding
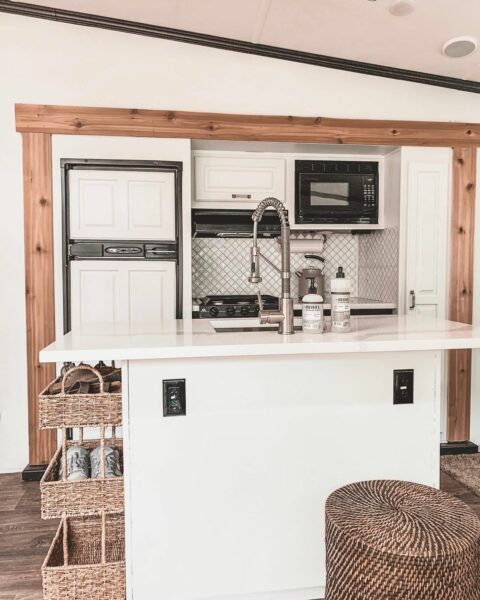
Another way to introduce warm, wooden tones is to replace the molding trim on the face of your slide-outs. It’s generally a quick job of removing the old molding and replacing with a thin piece of wood. Most RV manufacturers only use a few nails and some glue to hold the molding in place so they often pop up with a little effort. Then you just stain the wood to your liking and replace the trim with your new custom molding.
Darker stains create a more rustic or edgy look, while a lighter more natural look feels more like an old cottage or farmhouse look.
A modern twist we like on the molding upgrade is a 2-tone color scheme. Many people paint the vertical “posts” of the slide-out to match the walls (often a white or light cream color) and then stain the top “header” portion of the slide-out to look like a wooden beam set across. You can see a couple examples of that in the gallery below.




Butcher Block
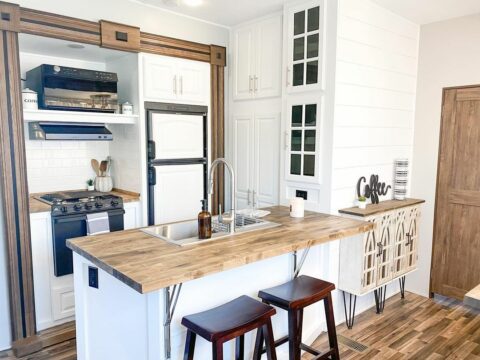
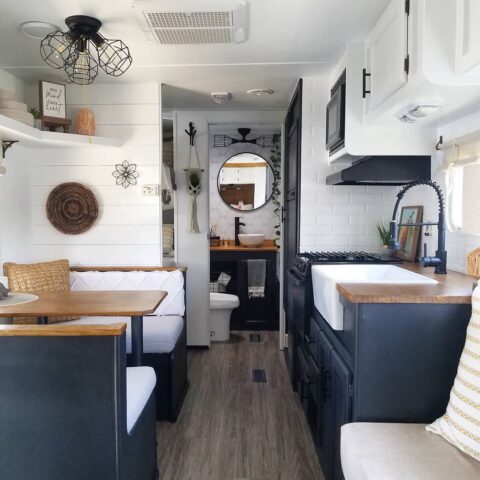
Our favorite element of many farmhouse design renovations is the use of butcher block throughout the rig. Even most newer RVs coming from the dealer’s lot are selling with ugly, cheap quality countertops. On one hand, it makes sense to use a lightweight material as the counters, but this is one area where we’re happy to add a little weight. You can plan for the extra weight by removing something else in the renovation process. But a good, chunky block of wood on the island or even in the bathroom as a new vanity countertop can instantly make the space feel warm and cozy.
Wood is naturally antibacterial and has self-healing fibers (for any chopping you might do directly on the counters), so butcher block is a great fit in high use areas like the kitchen.
You’ll need to make sure the wood is initially sealed with a food-safe and waterproof sealer finish during installation. With proper maintenance, the butcher block counters should last the lifetime of the RV. There are basically only 2 ways that butcher block can go bad… letting moisture in, or letting moisture out.
If you properly seal the wood, the sealer takes care of the moisture barrier by soaking in and sealing the wood pores from the inside out. Many wood experts recommend treating the butcher block every 4-6 weeks with a food-grade mineral oil to condition the wood and keep it from drying out, but your experience will vary.
We traveled the country from extreme Arizona heat to the high humidity of the South over the space of a couple years and our butcher block still looked great without many treatments. We took a lot more time in the initial installation phase with sanding, sanding some more, and applying multiple layers of sealer over the space of a couple weeks. That attention seemed to pay off down the road when we didn’t have to treat or re-seal our countertops very often. But we were also careful not to let anything wet sit on the counters for a long time, and for the most part, none of our butcher block counters were ever sitting in a lot of direct sunlight.



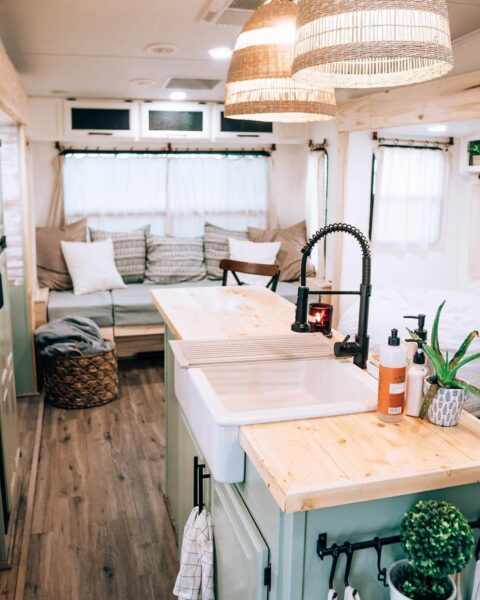

Kitchen Sink
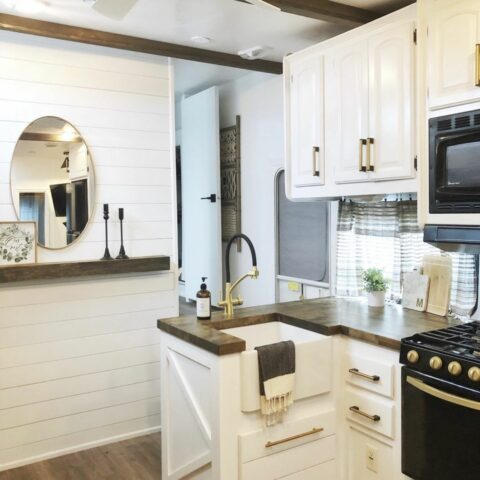
What would farmhouse style be without throwing in the large kitchen sink? Some manufacturers are actually shipping new rigs with a farmhouse style sink already installed, which makes the renovation even easier on those rigs. But more often than not, you’ll see a renovator rip out the old sink and replace it with a butcher block countertop and chunky sink.
You may be able to re-use the original faucet if it’s a nice material that matches the space. Just remember that it’s a general rule of thumb to use no more than 3 metals in a room (including your fridge if you have a new residential-style fridge in your kitchen). In such a small space, it’s best to tie things together using the same metal for your handles and faucet. So if you want a dark faucet, you’ll probably match the cabinet pulls and door handles with the faucet.


Farm Table
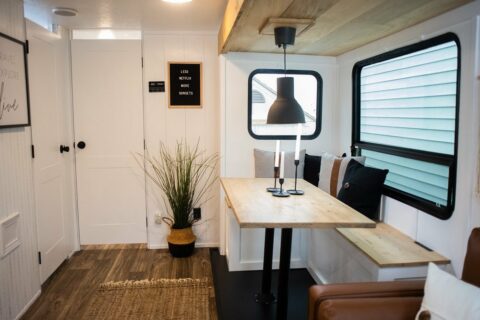
The dining tables that come standard in most RVs are designed to be small, lightweight and many of them even fold up to be stored in a smaller footprint. We’re all about functionality when living or traveling in an RV, but sometimes it’s nice to have a feature piece that looks good and can be abused. Remember earlier about how we talked about kids dinging up the furniture? That’s why you chose farmhouse style in your renovation!
If you want to make a big design statement and add practicality, especially for larger families that need a bit more dining space, you could just bring that chunky farmhouse table right into your RV. As always, weight is a strong consideration so you probably won’t bring your grandmother’s antique oak table, but a lot of furniture companies now make reproduction style tables that have fun farmhouse elements like chunky legs or spindle legs, but you don’t have to add too much weight.
A larger table can also serve as a multi-purpose space for the kids to do their schoolwork or it can be turned into an office during the day so you can enjoy those views you drove to see!
It can take a little creativity when deciding how to store a freestanding table when you put in the slide-outs and travel down the road. Some people secure the legs to the floor with brackets and screws. We’ve had luck with using sticky furniture pads on the bottom of the legs, especially if the table doesn’t have a lot of space to move around when the slide-out is put in anyway.

Lights
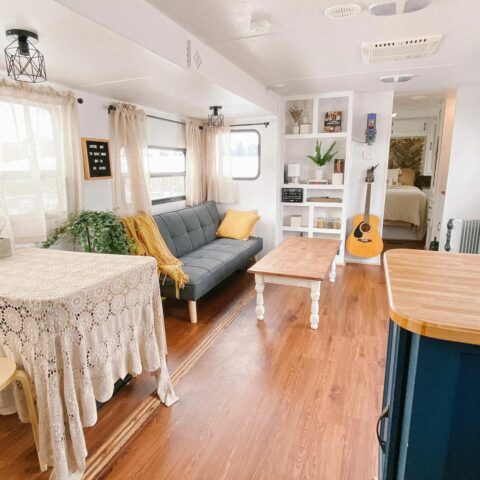
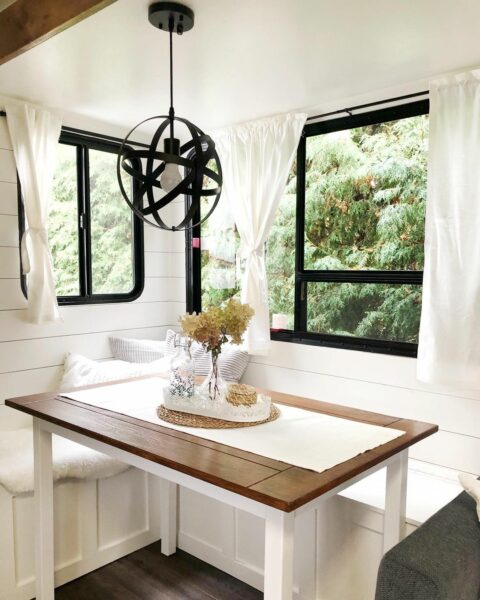
Last but not least, lighting is essential to finalizing the design mood you’re going for. If you want more of the warm and inviting classic farmhouse look, you might want to take a look at basket style light fixtures. Some DIYers have actually made their lights literally out of baskets!
If you want more of a modern or industrial style of farmhouse look, a good metal light fixture is an easy way to incorporate that feeling. Just make sure you avoid hanging pendant style light fixtures, particularly anything with chains or skinny rods. Even if you don’t plan on moving your RV around much, any time you close up those slides and start traveling down the road, every little bump in the road you feel up front as you’re driving is multiplied many times over in your rig behind you. It’s like a mini earthquake every time you travel and sometimes it’s a guessing game to see what fell down or broke on travel days. Not exactly a fun game, but it’s real nonetheless. So your best bet is to choose shorter light fixtures that are well connected to the ceiling.
As far as the actual lightbulbs, just be sure to use 12V lightbulbs since that’s how most RVs are wired. They used to be a little harder to find but many big box stores carry them now, and you can always find them on Amazon.


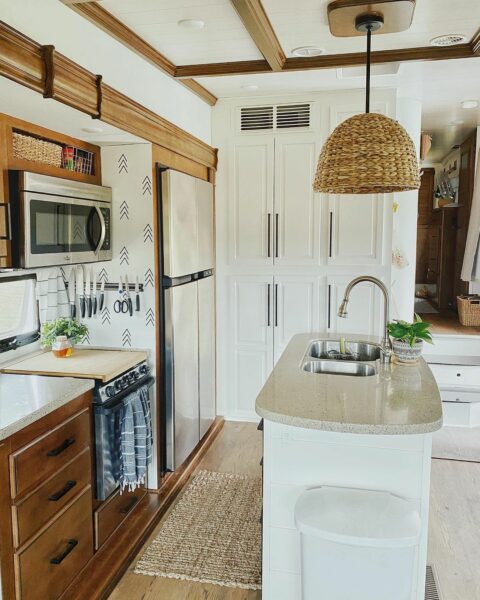


And of course, don’t forget to decorate! Accessories are an important element, but don’t overdo it and try to squeeze in too many. A few well-placed accessories that are given room to breathe are all you need to complete the look. Besides, you’re traveling in an RV so you don’t have room for too many accessories anyway!
We hope you enjoyed scrolling through these farmhouse style design galleries. It’s easy to see why so many people are choosing this style in their RV remodeling projects. It’s warm and inviting and designed to take the bumps in the road in step! Let us know what you like or don’t like in the comments below.
Comments
Hi I was wondering if you can recommend the best flooring for fifth wheel renovations with fluctuating temperatures… thank you so much in advance
Sincerely Amanda
The most common type of flooring is laminate. It’s relatively inexpensive, lightweight and easy to roll out and cut to fit notoriously crooked corners and walls in RV spaces.
Many flooring experts advise against vinyl planks, but that’s exactly what we installed in our own 5th wheel. It was lightweight and not super expensive. We got lucky and found a very similar pattern and design at Home Depot that matched our existing vinyl. So we only had to replace our carpeted areas (closets, slideouts and one bedroom) with the vinyl snap and click planks. Pretty much done in a day and it lasted 2 years of heavy travel around the country with rowdy boys. They also sold transition pieces that made it easier to finish the edges of the slideout.
Tile and hardwoods are generally not a good idea because of weight concerns.
In the end, pretty much any material would work. But it comes down to cost, aesthetics, and durability. Heat and humidity can cause the flooring to expand and contract, but that’s why you add a gap around the edges and add a trim piece to cover the space.
You can find a great e-course from RV Family Renovators on this topic here: https://lovethatrv.com/go/rvfamilyreno/
I have a Class A RV and my couch is peeling. You can see the previous owner repaired but it’s just doing it again. Any recommendations on where to look for a nice farmhouse style couch for the rv
It’s unfortunate that the product doesn’t sand up to everyday wear and tear? Ours it doing it after 5 years recliners and sofa
In one of the pictures the floor on the slide side is black. What did you use?